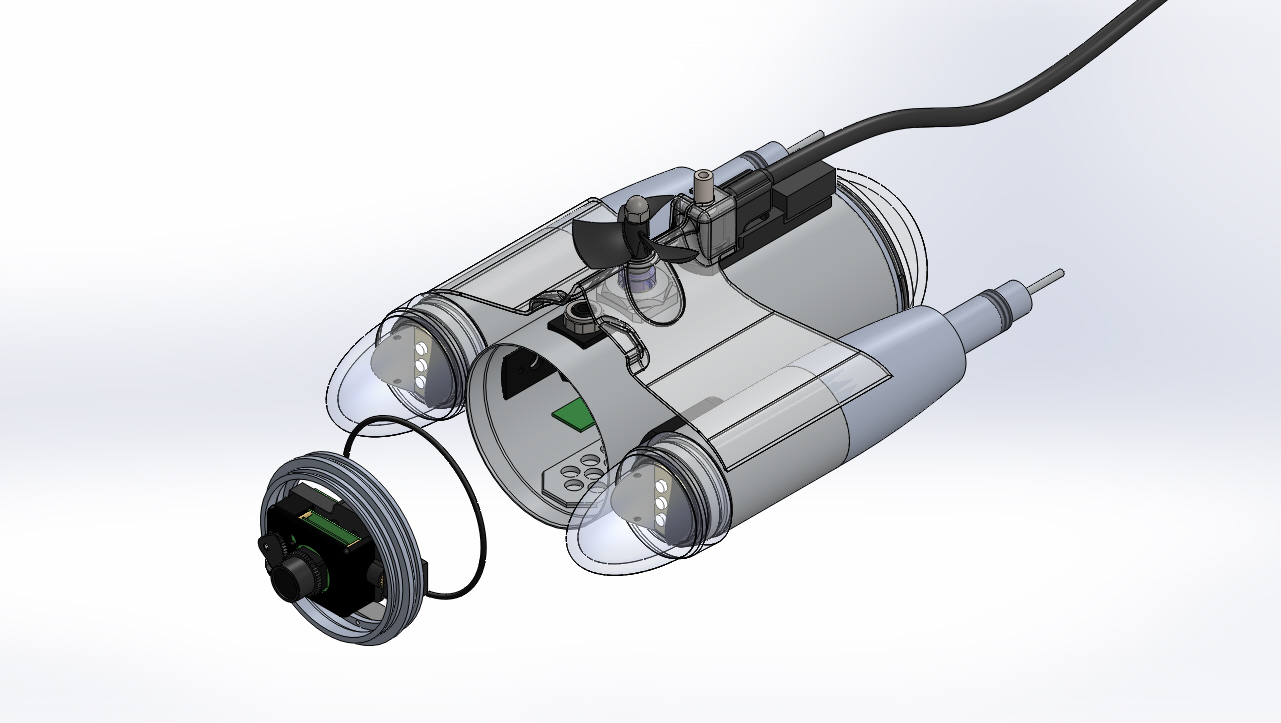
Place your index and middle fingers under the inside top of the front hull ring assembly and your thumb against the pressure sensor nut, and gently pull the hull ring assembly from the main hull. If the hull ring assembly binds while pulling the top, you may need to pull the bottom to even it up for easier removal. Do NOT pull it out too fast, or you could damage the camera ribbon cable.
Disconnect the camera ribbon cable from the rear of the camera by pulling the cable from the clip and then the connector.
If you plan to replace the O-ring, remove it by pinching it around the front hull ring to create a slack section that can be grabbed. Do NOT use a metal tool to remove the O-ring.
If the video above doesn't play in your browser, click this play icon to try an alternate method: ,
or click this manual reference icon to view an exploded view