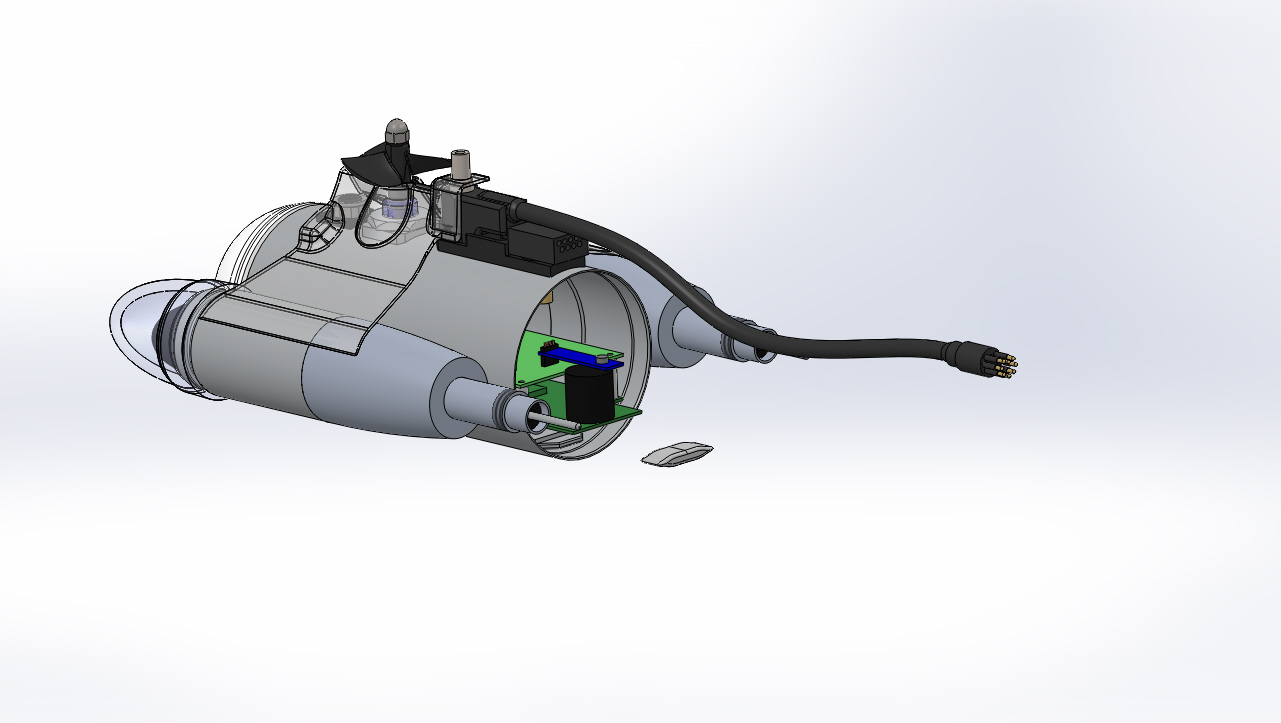
Orient the first desiccant pack so that the color stripe can be seen from the rear of the ROV.
Flatten the desiccant pack to make insertion easier.
Insert the desiccant pack at the rear between the ROV power board and the ROV heat sink.
Make sure the desiccant pack it installed far enough within the hull so it does not interfere with the rear hull ring or rear dome.
Place the second desiccant pack in the left LED light module.
Place the third desiccant pack in the right LED Light module.
If the video above doesn't play in your browser, click this play icon to try an alternate method: ,
or click this manual reference icon to view an exploded view