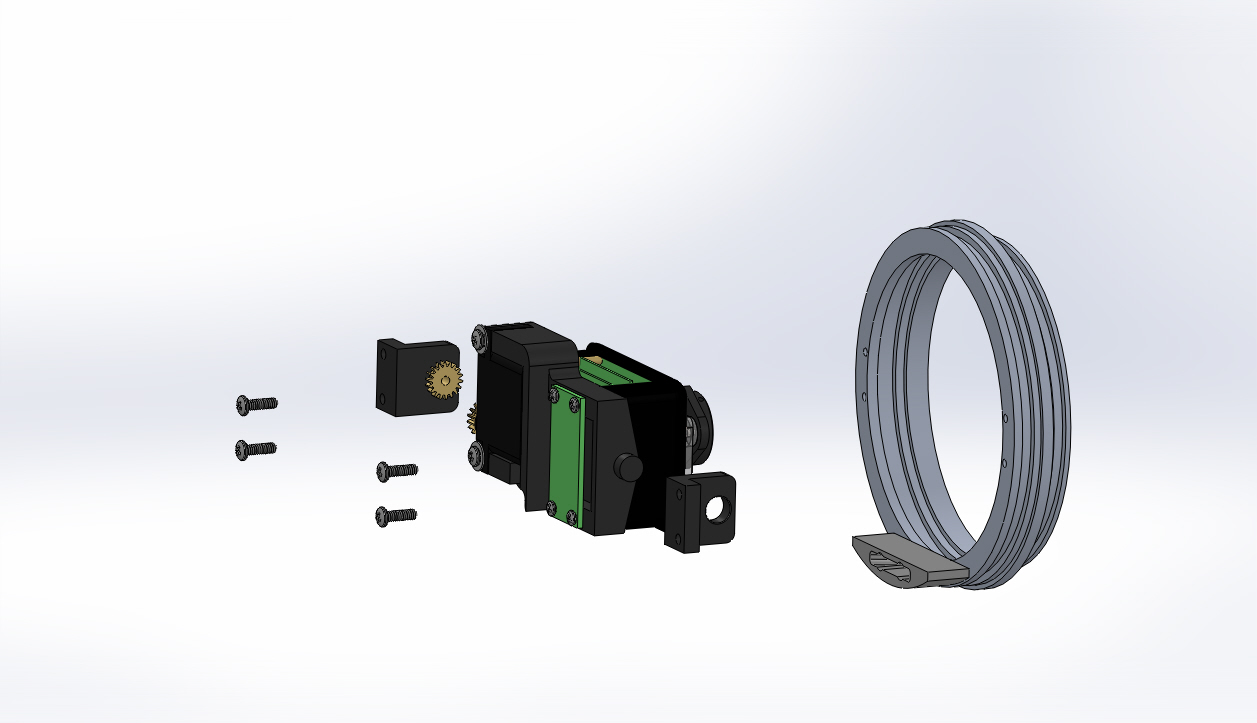
Camera Assembly Removal Procedures

Time required for this step: Approximately 4 Minutes

Tools required for this step:

Parts involved in this step:

VR-PRO4-13-0002-N Camera Assembly

QuantityPart NumberPart Description
1MHU-003-GY-KITMain Hull Assembly Port Ring (Pro 4)
1VR-PRO4-13-0002-NCamera Assembly Front (Pro 4) (NTSC)
1MAR-016-ASSMCamera Assembly Tilt Bracket (Pro 4)
1MAR-016Camera Part Tilt Bracket (Pro 4)
491249A108Screw #4-40 x 3/8" Pan Head Phillips SS Black

Steps

  1. Unscrew the four 4-40 X 3/8 inch Phillips head screws that hold the camera mounting brackets to the front hull ring assembly.

  2. Slide the camera assembly and camera mounting brackets to the rear of the hull ring assembly until the camera assembly is free from the ring.

  3. Remove the brackets from the sides of the camera assembly by sliding them off of the camera assembly.

If the video above doesn't play in your browser, click this play icon to try an alternate method: , or click this manual reference icon to view an exploded view

Tip

If you do not plan to remove the camera or servo motors it is best not to remove the port camera bracket with the tilt gear from the camera assembly. Otherwise, you will have to re-index the tilt gear when reinstalling it.


VideoRay Documentation Only

[ Help us improve this document ]

Pro 4 Maintenance Manual, Version: Advanced 1.00.00
Copyright © 2015, VideoRay LLC - The Global Leader in Micro-ROV Technology