Makes sure the tabs on the front and rear domes are aligned horizontally so they do not interfere with the rods.
If the 6-32, 5/8 inch acorn nuts are installed on one end of the main hull rods, proceed to the next numbered step. Otherwise, follow these two lettered steps:
Place a plastic isolation insert, with the narrow end first, on each hull rod.
Apply red Loctite to the threads on the rod.
Replace an acorn nut on the end of each hull rod with the plastic isolation insert installed and tighten the nut.
If the hull rods are inserted in the front dome retaining ring, proceed to the next numbered step. Otherwise, follow this lettered step.
Insert the rods with plastic isolation inserts and acorn nuts through the diagonal holes in the front dome retaining ring until the isolation inserts are seated in the holes.
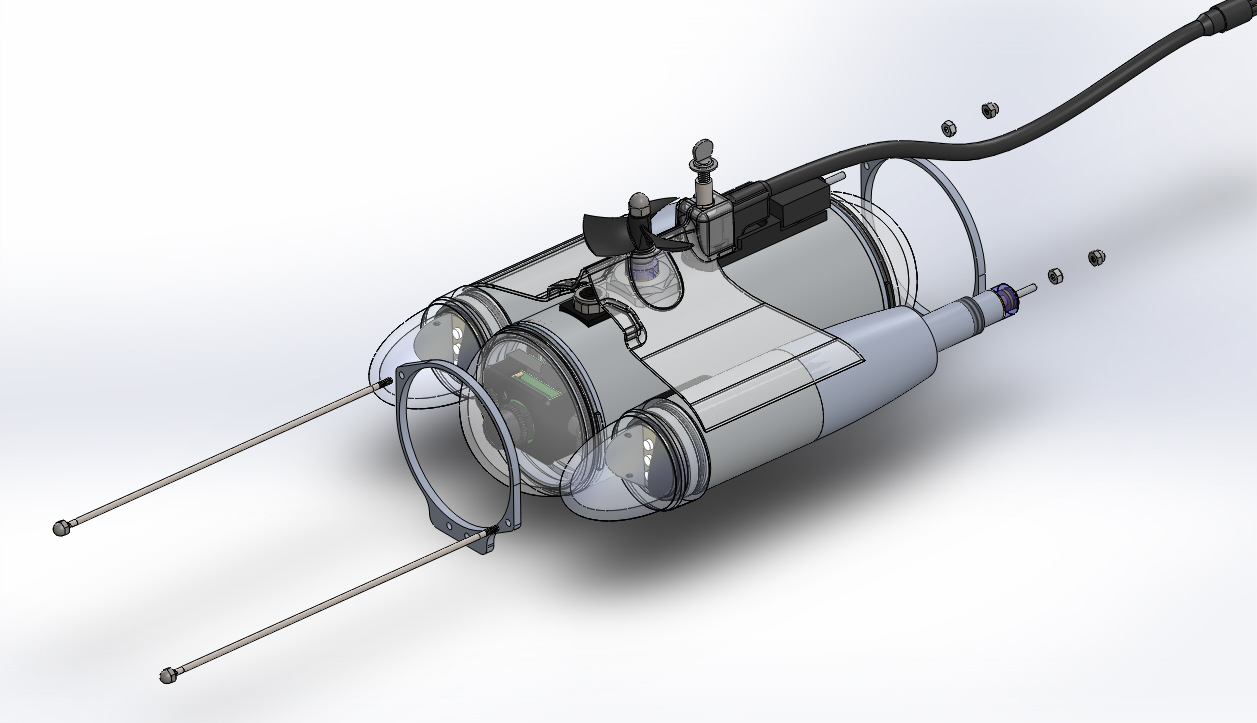
Orient the front dome retaining ring and rods assembly at the front of the ROV so that the ends of the rods without nuts are facing toward the rear of the ROV and the skid screw holes in the ring are oriented toward the bottom of the ROV.
Slide the front dome retaining ring and rods assembly in place over the main hull.
Press the front dome retaining ring onto the front dome until is seats against the rim at the base of the front dome.
Orient the rear dome retaining ring at the rear of the ROV and with its hole orientation matching the front dome retaining ring.
Position the rear dome retaining ring over the rear dome making sure the hull rods come through the corresponding holes in the ring.
Press the rear dome retaining ring onto the rear dome until is seats against the rim at the base of the dome.
Place the plastic isolation inserts, narrow end first, over the rear of the hull rods and press the inserts into the holes in the rear dome retaining ring.
Replace the Nylock nuts on the rear of the hull rods, but do not tighten the nuts all of the way.
Place the ROV on a flat surface and make sure that the bases of both dome retaining rings sit flat on the surface and that the ROV is level from side to side.
Tighten the Nylock nuts at the rear of the hull rods until they seat against the plastic isolation inserts. Torque the nuts to4 inch-pounds (0.45 Nm). Do NOT over tighten the Nylock nuts. Over tightening the Nylock nuts can bend the dome retaining rings or crack the domes.
Install the acorn nuts on the rear of the hull rods and snug them tight against the Nylock nuts.
If the video above doesn't play in your browser, click this play icon to try an alternate method: ,
or click this manual reference icon to view an exploded view
Tip
The front and rear dome rings are identical and can be interchanged.