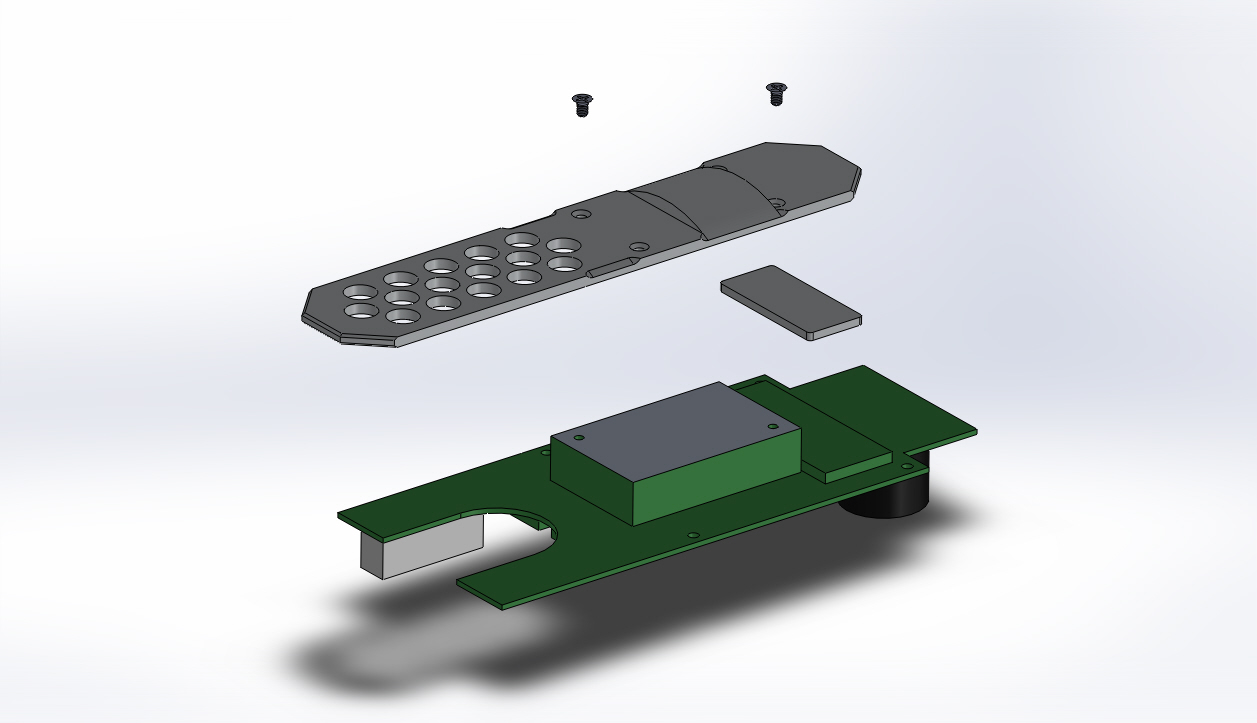
ROV Heat Sink Removal Procedures

Time required for this step: Approximately 5 Minutes

Tools required for this step:

Parts involved in this step:

MAR-PCB6 ROV Heat Sink

QuantityPart NumberPart Description
1MAR-PCB6Heat Sink ROV Bar (Pro 4)
1MAR-PCB6-SPCRHeat Sink ROV Bar Spacer (Pro 4)
1BER170-NDHeat Sink 36.83mm x 21.08mm x 0.14mm Thermal Pad
292010A114Screw M3 x 0.5mm x 5mm Flat Head Phillips SS

Steps

  1. Remove the two 3 X 5 mm Phillips flat head screws that hold the heat sink to the ROV power control board.

  2. Lift the heat sink from the ROV power control board. Make sure to keep track of the small heat sink and two small thick heat sink pads.

  3. Remove the heat sink spacer and heat sink pad from under where the heat sink was located.

If the video above doesn't play in your browser, click this play icon to try an alternate method: , or click this manual reference icon to view an exploded view

Tips

Some heat sink bars may have four screws instead of two.


VideoRay Documentation Only

[ Help us improve this document ]

Pro 4 Maintenance Manual, Version: Advanced 1.00.00
Copyright © 2015, VideoRay LLC - The Global Leader in Micro-ROV Technology