Use a new lubricated O-ring, or remove and lubricate the existing O-ring, and install it in the larger diameter O-ring groove of the rear hull ring.
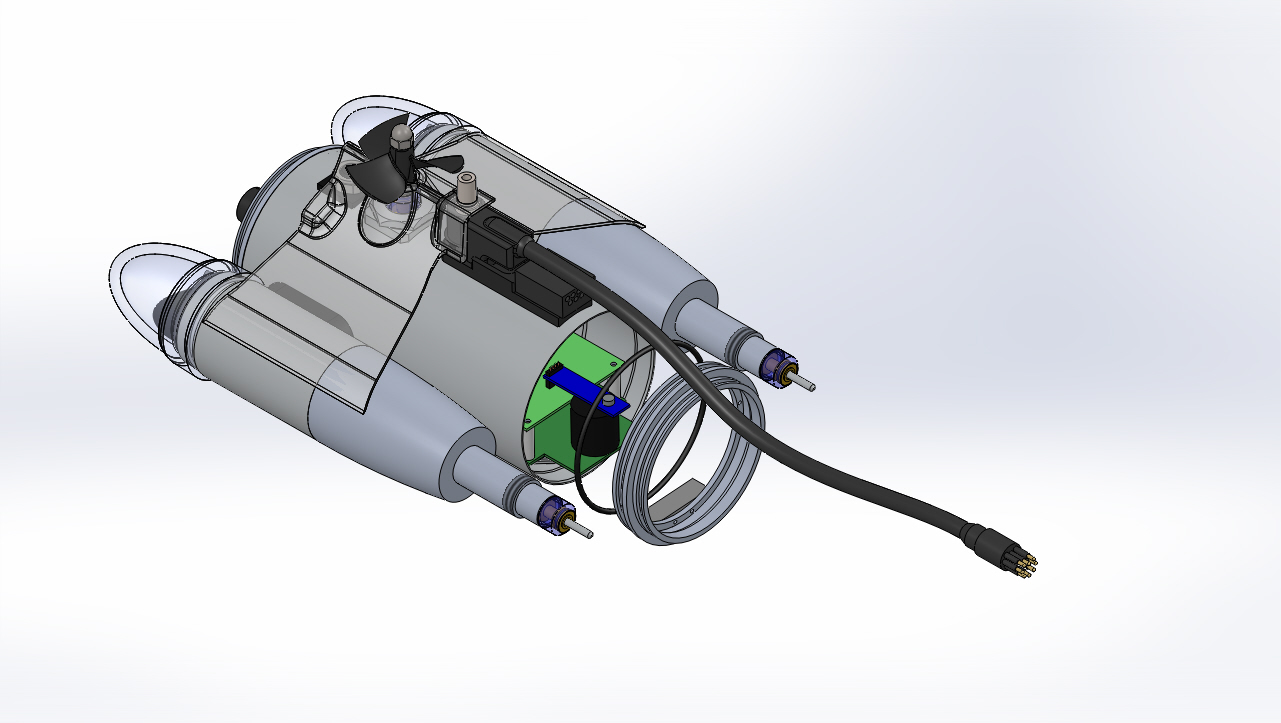
Orient the rear hull ring so that the receiver bracket is facing toward the ROV and at the bottom of the main hull.
Position the rear hull ring at the rear of the main hull and make sure the rear of the heat sink engages in the receiver bracket at the bottom of the rear hull ring.
Being careful not to pinch the O-ring, press the rear hull ring into the main hull until is seats against the main hull. Make sure that you press the front ring evenly so that it does not bind.
If the video above doesn't play in your browser, click this play icon to try an alternate method: ,
or click this manual reference icon to view an exploded view