Note: Both the left (port) and right (starboard) LED Light Modules must be replaced. Repeat these steps on both sides.
Place or make sure the O-ring is seated in the groove on the front face of the horizontal thruster tube.
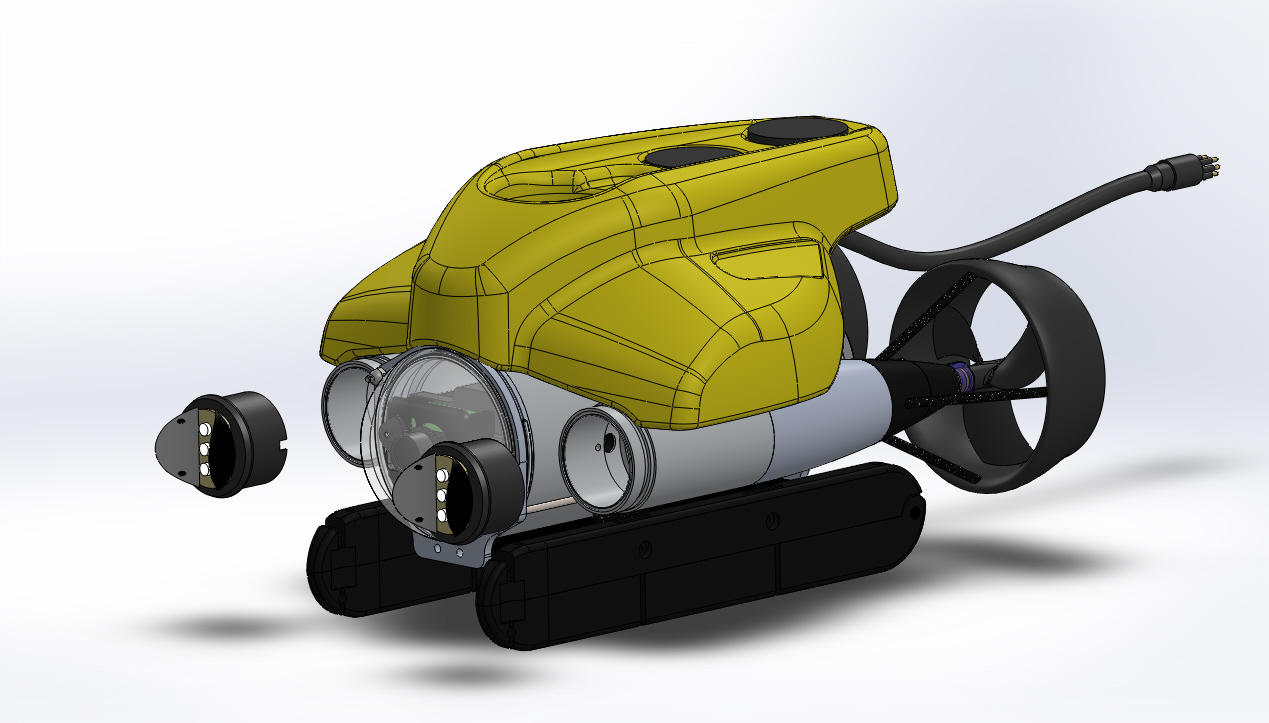
Orient the LED light module at the front of the horizontal thruster tube so that the LEDs are facing forward and the notch at the rear of the module is facing toward the main hull. This notch has to engage with the screw that holds the horizontal thruster tube to the main hull.
Align the LED light module assembly connector clip with the catch on the ROV wire harness connector for the lights in the horizontal thruster tube.
Make sure the wires are inserted into the horizontal thruster tube and will not be pinched by the LED light module when it is inserted.
Slide the LED light module into the horizontal thruster tube until it seats against the O-ring in the front face of the horizontal thruster tube.
If the video above doesn't play in your browser, click this play icon to try an alternate method: ,
or click this manual reference icon to view an exploded view
Tip
VideoRay recommends that you test the LED light module after it is installed and before replacing the light dome.